19 Woodworking Shop Layout Ideas to Maximize Space and Workflow

Your woodworking shop layout is more than just a bunch of tools shoved into a garage.
It’s the engine room of your creativity—the cockpit from which your ideas take flight.
A cluttered or poorly planned shop can waste your time, wreck your workflow, and even lead to safety hazards.
So if you’re serious about turning wood into wonders, your shop layout matters. A lot.
Whether you’re working out of a single-car garage or a dedicated outbuilding, these 19 woodworking shop layout ideas will help you squeeze the most out of every square inch and fine-tune your workflow like a symphony.
1. Start with a Zoning Mindset
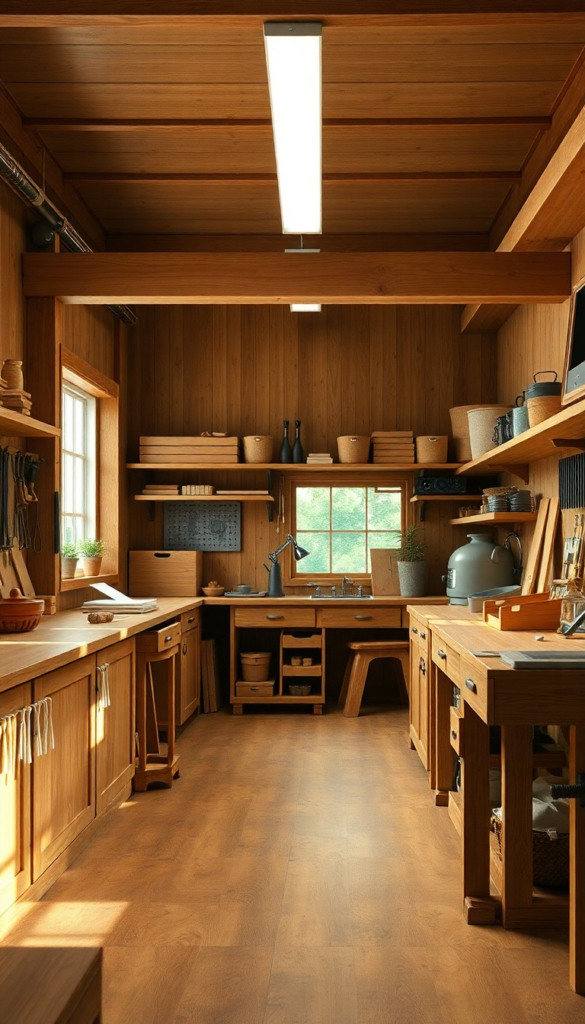
Divide your shop into zones based on function. Think of it like organizing your kitchen—prep zone, cooking zone, cleaning zone.
In a woodworking shop, your zones might be:
- Rough cutting zone (table saw, miter saw, bandsaw)
- Joinery zone (router table, dowel jig, mortiser)
- Assembly zone (large flat table, clamps)
- Finishing zone (ventilated area with drying racks)
Zoning keeps you from walking laps around the shop like a confused squirrel. It reduces clutter, minimizes tool overlap, and improves efficiency.
2. Embrace the Work Triangle Principle
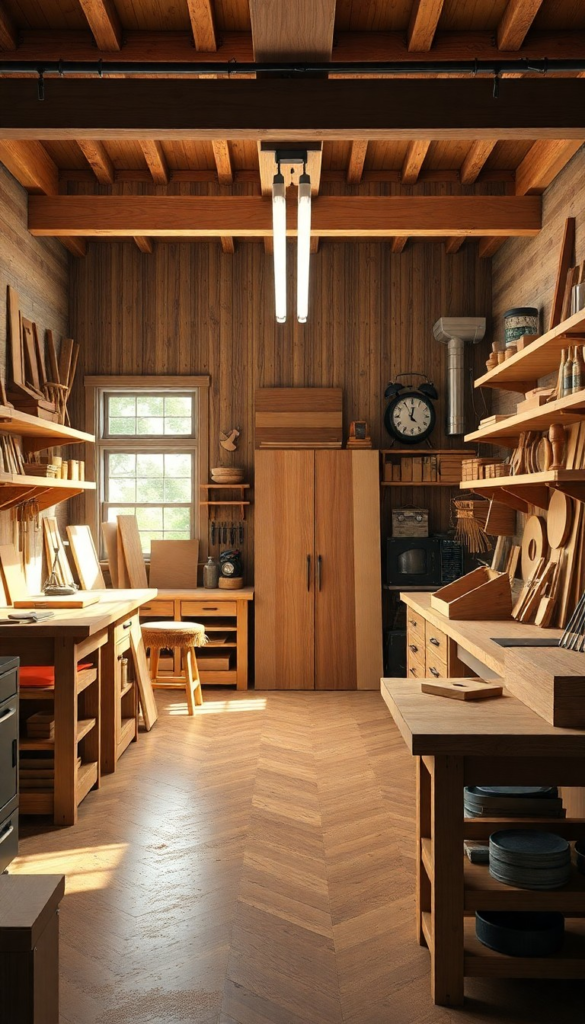
Just like a kitchen benefits from the work triangle (fridge-sink-stove), a woodworking shop flows better when your main tools form a triangle:
- Table saw
- Jointer
- Planer
This triangle minimizes walking and makes it easier to process lumber from rough to square. Trust me—your legs and patience will thank you.
3. Mobile Bases: Your Secret Superpower
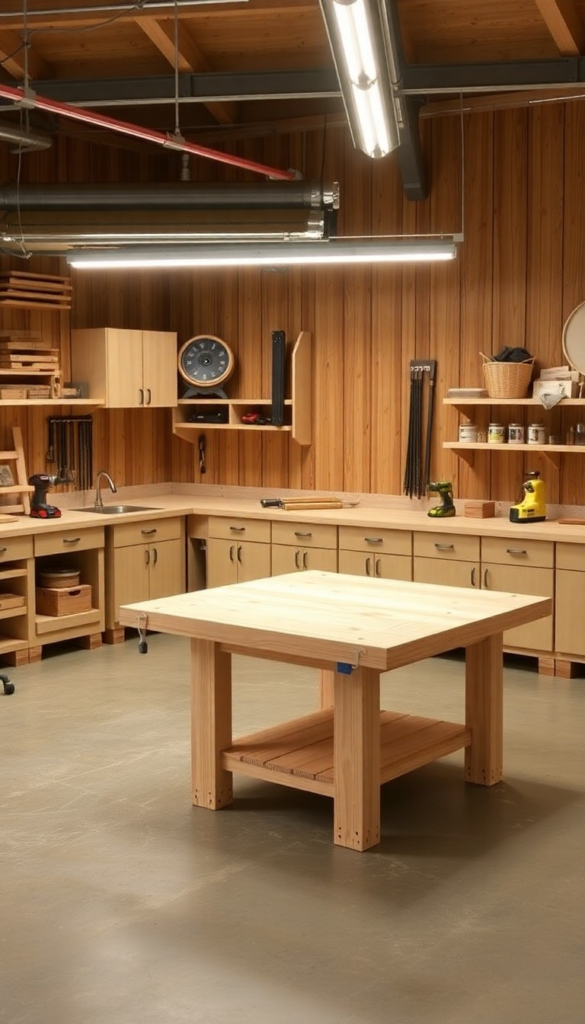
Put everything on wheels. Not joking. Mobile bases for your heavy machines (like your planer or bandsaw) mean you can reconfigure your space on the fly.
Even in my 12×16 shed, I can easily make room for a full 4×8 sheet of plywood on saw horses by rolling away the jointer and planer.
It’s like having a workshop that expands when you need it to.
And don’t skimp on good wheels—locking casters are your best friend.
4. Plan for Wood Storage Early On
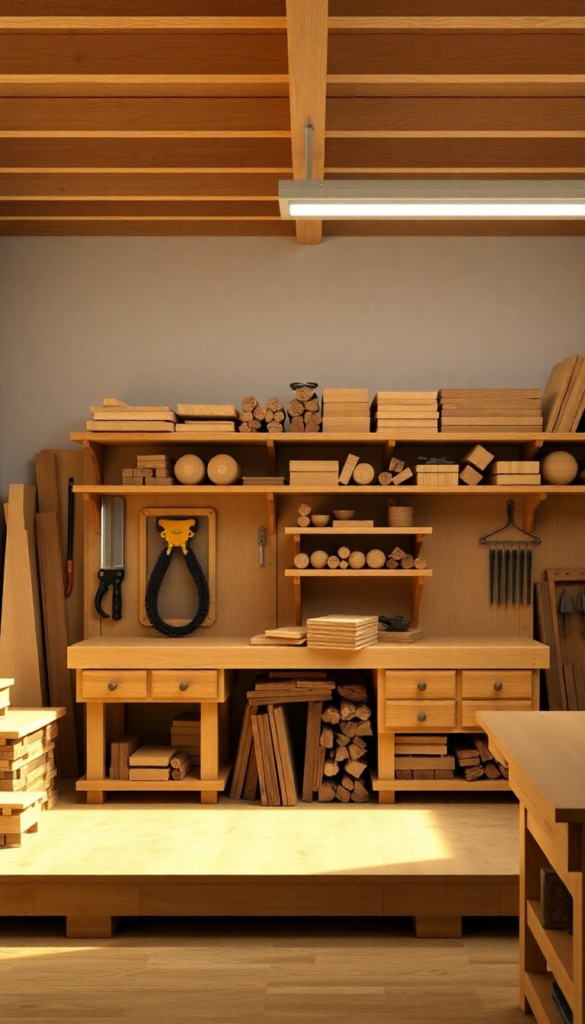
Lumber is like a pet that keeps growing. One day you’ve got a few 2x4s, and the next you’re hoarding 12-foot walnut boards like they’re gold.
Vertical lumber racks save floor space and make sorting easier. For sheet goods, build a rolling vertical cart with dividers.
You’ll be amazed how much cleaner your shop feels when the wood isn’t scattered like Jenga blocks across the floor.
According to Fine Woodworking, a good shop layout allocates at least 15% of space to wood storage, so plan accordingly.
5. Optimize Power Tool Placement
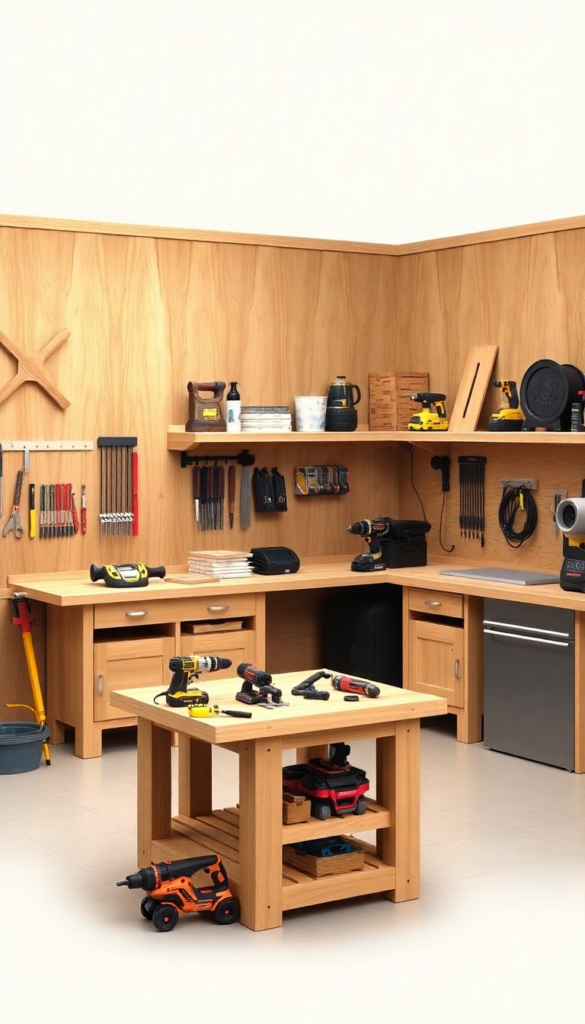
Think of your stationary power tools like planets that orbit your workflow. Place the table saw at the center—it’s the sun of your workshop. From there:
- Place the jointer and planer nearby for material prep
- Keep dust-producing tools close to the dust collector
- Ensure at least 4 feet of clearance on either side of tools like the miter saw and table saw
It’s all about reducing friction—physical and mental.
6. Use Wall Space Like It Owes You Rent
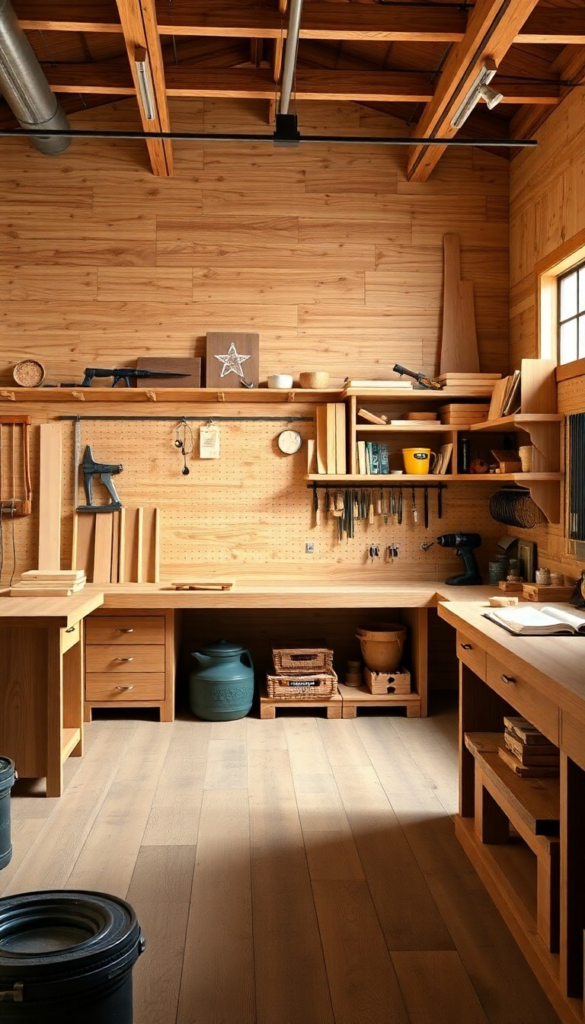
Walls are prime real estate. Use every inch. Install:
- French cleat systems for adjustable storage
- Pegboards for commonly used tools
- Cabinets for small parts and safety gear
Even above door frames and windows, you can stash clamps or scrap bins. Every square foot matters.
7. Build an Assembly Table You Love
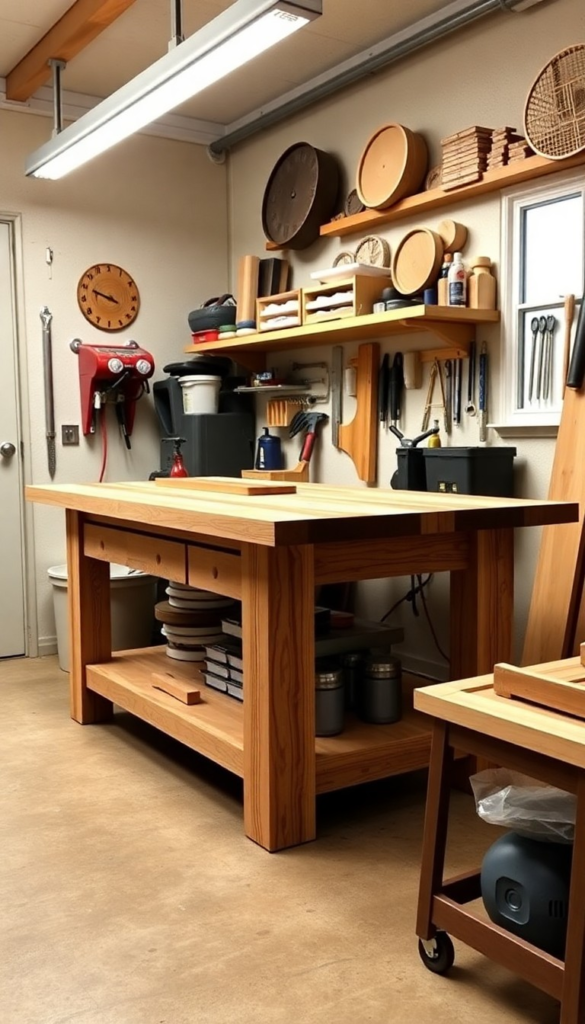
Your assembly table is command central. It’s where your projects come together and often where your back will ache if you get it wrong.
Key features to include:
- Sturdy and dead flat surface
- Plenty of clamping points
- Storage underneath for glue, clamps, and fasteners
I built mine from 2x4s and MDF, added T-tracks and casters, and it’s the hardest-working piece of furniture I’ve ever made.
8. Create a Dedicated Finishing Zone
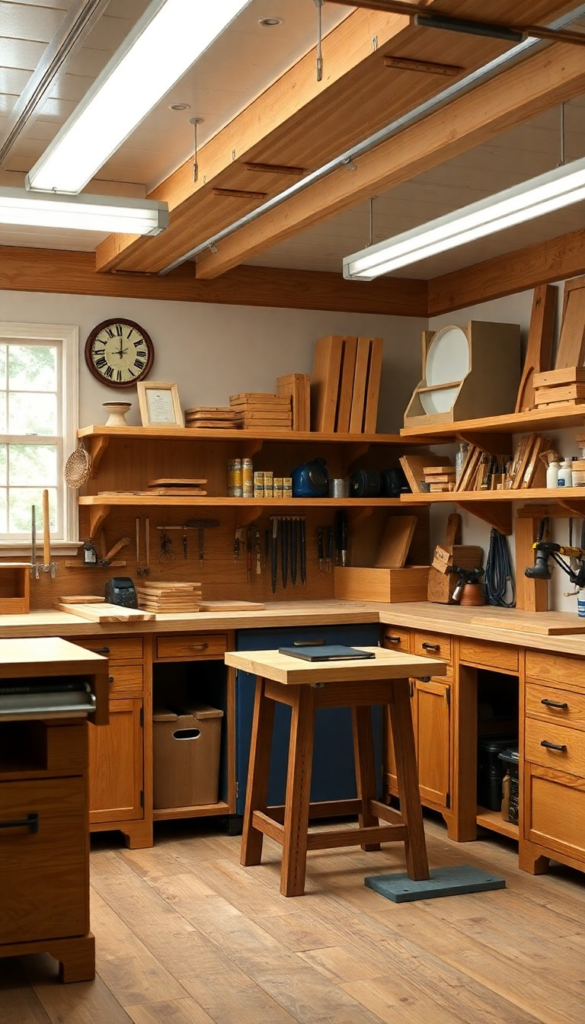
If you’ve ever stepped on a glue-up only to track it through your finish, you know the pain.
A separate finishing zone keeps dust at bay and helps projects cure cleanly.
Tips:
- Use a box fan with a furnace filter for airflow
- Keep this area clean and clutter-free
- Consider a portable spray booth if you do a lot of lacquer work
It’s not just about looks—a dusty finish can ruin hours of work.
9. Tame the Dust Beast with Good Collection
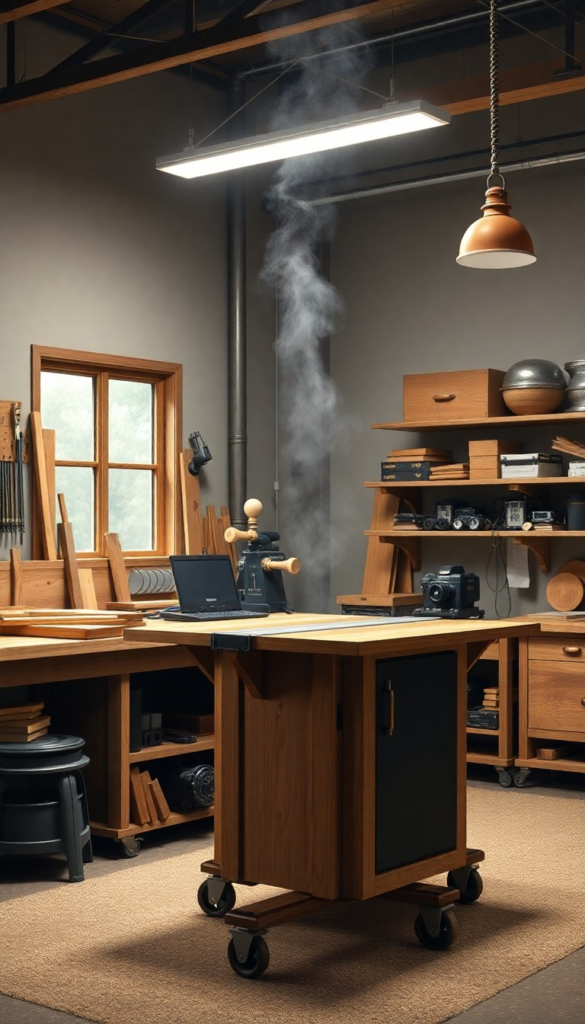
Dust is the invisible enemy. It’s a health risk, a fire hazard, and a constant mess. Invest in a good dust collection system early.
Even a small 1.5 HP collector with a cyclone separator can drastically improve your air quality.
Don’t forget:
- Seal joints with duct tape or silicone
- Use blast gates to control airflow
- Hook up your smallest tools with a shop vac and HEPA filter
According to OSHA, prolonged wood dust exposure can lead to chronic bronchitis and nasal cancer. Don’t risk it.
10. Prioritize Lighting from the Start
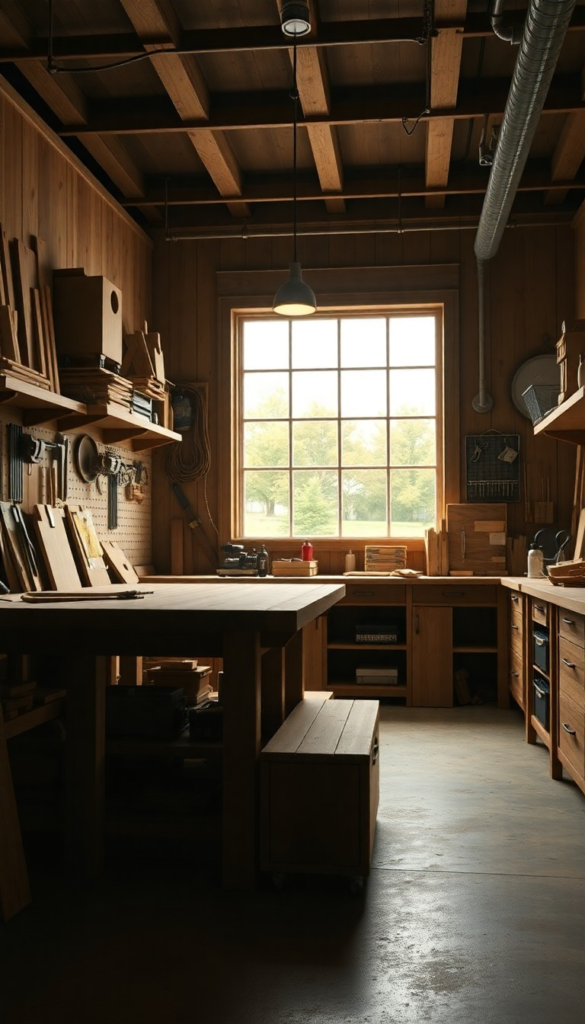
Bad lighting is like trying to carve detail work in a cave. Use a mix of overhead lights and task lighting to eliminate shadows and bring out grain details.
- LED shop lights offer bright, efficient lighting
- Add clamp lights over workstations
- Use color temperature between 4000K–5000K for true color rendering
I replaced the old bulbs in my shop with LED strips and suddenly felt like I’d put on glasses. The difference is night and day.
11. Plug In Smart: Electrical Layout Matters
You’ll need more outlets than you think. Plan for:
- Multiple 20-amp circuits
- Dedicated 220V for big machines
- Ceiling outlets for retractable extension cords
Put outlets every 6 feet along the walls, and consider floor boxes for central tools. You’ll curse every extension cord you ever used if you skip this.
12. Make a Tool Wall You Actually Use
A tool wall should be both beautiful and functional.
Display your frequently used hand tools—chisels, mallets, squares—where you can grab them without thinking.
Use:
- French cleats
- Shadow boards with tool outlines
- Magnetic strips
Mine looks like Batman’s utility belt—everything in its place and ready for action.
13. Think Workflow, Not Just Storage
Don’t just cram tools wherever they fit.
Think through the process: where does the wood go after you cut it? Where do you grab your clamps when you need them?
If you find yourself taking more than three steps between key actions, rethink it. Your body will thank you after your 100th glue-up.
14. Add Outfeed Support for Every Tool
Ever tried ripping an 8-foot board on a table saw with no outfeed table? It’s like trying to land a plane with no runway.
Build:
- A dedicated outfeed table for your table saw
- Roller stands for your miter saw or bandsaw
- Fold-down supports for portable tools
These make long cuts safer and cleaner.
15. Use Vertical Clamp Racks
Clamps multiply like rabbits. I started with a dozen and now have over 50. Keep them accessible and organized with vertical racks.
Use:
- PVC pipe to hold bar clamps
- Simple wall cleats for F-style and parallel clamps
- Rolling carts for glue-ups
The faster you can grab a clamp, the better your glue joints will be.
16. Build a Rolling Tool Cart for Versatility
A rolling tool cart is a mini-workstation you can take wherever you need. Add drawers, power strips, and a worktop.
I’ve used mine as:
- A sharpening station
- A sanding cart
- A glue-up helper
It’s like having an assistant who never complains.
17. Maximize Overhead Space
Don’t overlook the ceiling. Add:
- Plywood sheet storage
- Clamp hangers
- Drop-down extension cords or air hoses
You’ll keep your floor clear and your work safer.
18. Create a Downdraft Table for Sanding
Sanding creates a cloud of airborne dust, even with a shop vac. A downdraft table pulls dust downward through perforated holes.
Build one into your bench or make a dedicated box with a fan and filter. Your lungs will thank you.
19. Leave Room to Grow
The golden rule of shop layouts? Leave space. You’re going to buy more tools. You’re going to take on bigger projects. Build in flexibility.
- Use modular furniture
- Keep some wall space free
- Invest in mobile bases and folding tables
When I first started, I thought my layout was perfect.
Six months later, I was rearranging everything to fit a drum sander and a jointer upgrade. Plan for evolution.
Final Word
Your shop layout isn’t static. It grows with you, shifts as your skills develop, and reflects your working style.
Take the time to make it right—not perfect, but right for you.
By zoning your workspace, optimizing tool placement, and staying flexible, you’ll turn your shop into a place where ideas move faster than sawdust in a cyclone.
And remember, the best layouts don’t come from Pinterest—they come from solving real problems in real time.
So roll up your sleeves, sketch out your space, and start building the workshop of your dreams—one layout idea at a time.


