
21 My Sewing Room Ideas
If you’ve ever tried sewing on a cluttered table with tangled threads and missing scissors, you already know—your sewing space matters more than you think.
I learned this the hard way after ruining a nearly finished dress because I couldn’t find my seam ripper in time.
That’s when I decided to transform my sewing area into a space that actually works with me, not against me.
In this guide, I’m going to walk you through 21 practical and creative sewing room ideas—the kind that make your workflow smoother, your creativity stronger, and your time at the machine feel like therapy instead of chaos.
1. Start With a Functional Layout
The first thing I fixed in my sewing room was the layout. And honestly, it changed everything.
Think of your sewing room like a kitchen. You wouldn’t place your stove across the house from your sink, right? The same logic applies here.
Your sewing machine, cutting table, and ironing station should form a natural triangle.
I used to keep my ironing board in another room—big mistake. I wasted so much time walking back and forth.
Once I brought everything into one cohesive layout, my productivity nearly doubled.
Studies show that efficient workspace layouts can increase productivity by up to 20%, and I believe it. You’ll feel it immediately.
2. Invest in a Large Cutting Table
If you’re still cutting fabric on the floor, I feel your back pain already.
A proper cutting table is a game changer. It saves your posture, improves accuracy, and speeds up your process.
I upgraded mine using an old desk and raised it slightly—simple but effective.
Make sure it’s:
- Waist height (no bending)
- Spacious enough for fabric spreads
- Close to your sewing machine
Trust me, your future self will thank you every time you cut fabric without crawling on the floor like a detective.
3. Use Vertical Storage to Save Space
Here’s a secret I wish I knew earlier: your walls are gold.
When my room felt cramped, I stopped buying more bins and started using vertical storage.
Pegboards, wall shelves, and hanging organizers turned my tiny space into a highly functional studio.
Vertical storage works because:
- It keeps tools visible
- Frees up floor space
- Reduces clutter stress
Think of it like turning your wall into your personal assistant—everything right where you can see it.
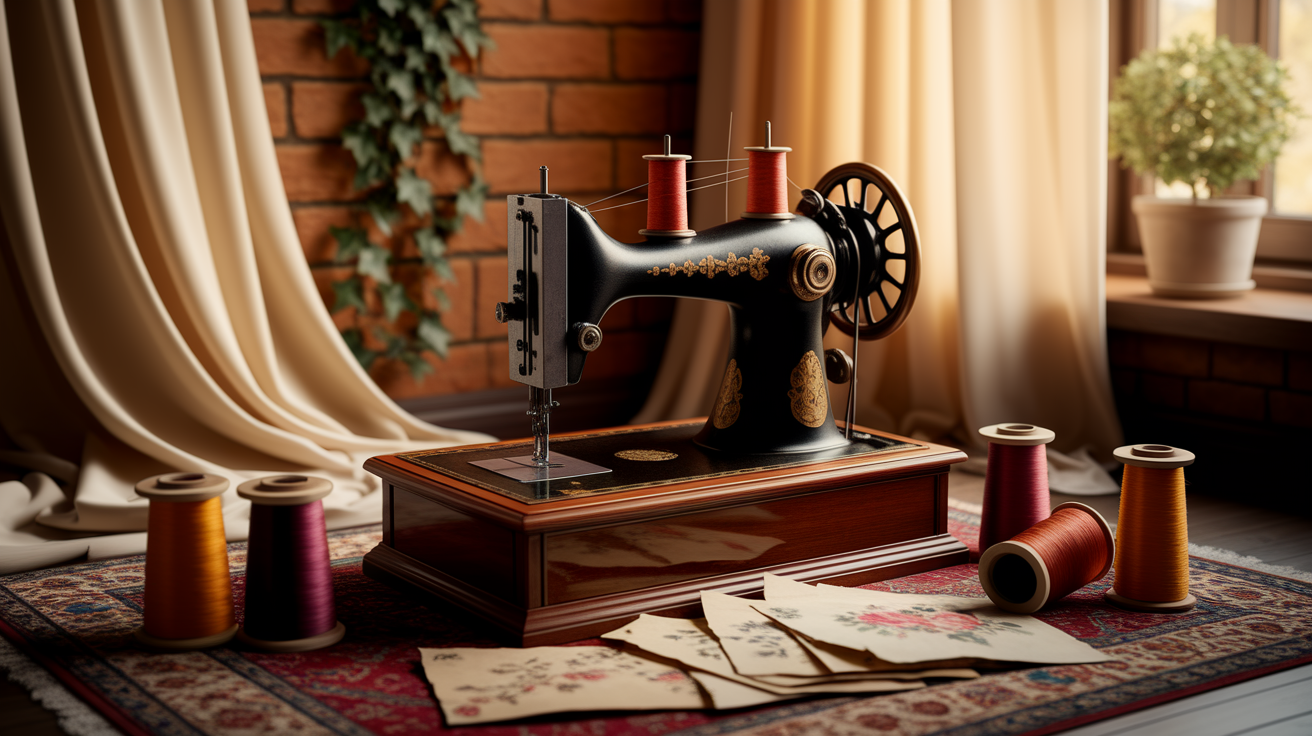
4. Organize Thread by Color
This one is both practical and oddly satisfying.
I arranged my thread spools by color on a wall rack, and suddenly my sewing room felt like an artist’s studio.
No more digging through boxes trying to find the “almost matching” shade.
It also saves time—studies suggest that visual organization reduces search time by up to 30%.
Plus, let’s be honest… it looks beautiful.
5. Create a Dedicated Sewing Machine Station
Your sewing machine deserves its own space—not a corner of a dining table.
When I gave mine a permanent home, everything changed. I stopped packing and unpacking it every time, which made me sew more often.
A proper station should include:
- Stable table (no wobbling)
- Good lighting
- Nearby storage for tools
It becomes your “command center”—where all the magic happens.
6. Add Proper Lighting (Don’t Skip This)
Bad lighting is the silent enemy of sewing.
I once stitched an entire seam only to realize the thread didn’t match… because I was working under dim yellow light.
Now I use a mix of:
- Natural light (if possible)
- LED task lamps
- Overhead lighting
Good lighting reduces eye strain and improves accuracy. According to research, proper lighting can improve task performance by 10–15%.
7. Keep a Pegboard for Tools
If you haven’t tried a pegboard yet, you’re missing out.
I installed one above my sewing desk, and suddenly my scissors, rulers, and measuring tapes had a home.
No more searching. No more frustration.
It’s like having your tools lined up like soldiers—ready when you need them.
8. Use Clear Storage Bins
Opaque bins are like mystery boxes—you never know what’s inside until it’s too late.
Switching to clear storage bins saved me so much time. I can now see my fabric, trims, and supplies instantly.
It sounds simple, but it eliminates that “where did I put it?” moment that kills your flow.
9. Create a Fabric Storage System
Fabric can quickly take over your room if you let it.
I learned to organize mine by:
- Color
- Type (cotton, silk, denim)
- Project
You can use shelves, cubbies, or even rolling carts. The key is consistency.
Once I organized my fabric properly, I stopped overbuying—because I finally knew what I already had.
10. Add a Comfortable Chair
You’re going to spend hours sitting—don’t ignore this.
I used to sit on a basic chair, and my back paid the price. Upgrading to an ergonomic chair made sewing sessions longer and more enjoyable.
Look for:
- Adjustable height
- Back support
- Comfortable cushioning
Comfort isn’t a luxury—it’s a necessity.
11. Keep a Small Trash Bin Nearby
This sounds obvious, but it’s surprisingly overlooked.
Threads, fabric scraps, and paper bits pile up quickly. Having a trash bin within arm’s reach keeps your workspace clean.
It’s a small habit that makes a big difference.
12. Add a Design Wall
This was one of my favorite upgrades.
A design wall (even a simple fabric-covered board) lets you pin patterns, layouts, and ideas.
It’s especially helpful for quilting or large projects.
Think of it as your creative playground—where ideas come to life before they’re stitched.
13. Use Drawer Dividers
Drawers can turn into chaos in seconds.
I added dividers for:
- Needles
- Bobbins
- Small tools
Now everything has its place, and I don’t waste time digging through a mess.
14. Keep Frequently Used Tools Close
Here’s a rule I follow: if I use it daily, it stays within arm’s reach.
This includes:
- Scissors
- Seam ripper
- Measuring tape
It reduces interruptions and keeps you in the creative flow.
15. Add Personal Touches
Your sewing room shouldn’t feel like a factory.
I added:
- Inspirational quotes
- Photos
- Small decor pieces
These little touches make the space feel like yours. And when you love your space, you naturally spend more time in it.
16. Use Rolling Carts for Flexibility
Rolling carts are incredibly useful.
I use mine for:
- Current projects
- Tools
- Fabric
The best part? I can move it anywhere.
It’s like having a portable assistant that follows you around.
17. Keep an Ironing Station Nearby
Ironing is part of sewing—there’s no escaping it.
Having an ironing station in the same room saves time and effort.
I keep mine folded in a corner, ready to use anytime.
18. Label Everything
Labels might seem unnecessary… until you need them.
I labeled my bins, drawers, and boxes, and it made organizing effortless.
No guessing. No confusion.
Just clarity.
19. Create a Project Zone
Instead of mixing everything together, I created a space for ongoing projects.
This keeps:
- Materials organized
- Progress visible
- Motivation high
It’s like bookmarking your work—you can pick up right where you left off.
20. Maximize Natural Light
If you have a window, use it.
Natural light improves mood and visibility. Studies show that natural light can boost productivity by up to 15%.
I positioned my sewing table near a window, and it made the space feel alive.
21. Keep It Clutter-Free
This is the golden rule.
No matter how beautiful your setup is, clutter will ruin it.
I make it a habit to:
- Clean after each session
- Put tools back
- Organize regularly
A clean space equals a clear mind—and better sewing results.
Final Thoughts
Your sewing room doesn’t need to be big or expensive—it just needs to work for you.
I’ve made mistakes, wasted time, and learned things the hard way so you don’t have to. Start with one or two ideas from this list and build from there.
Over time, your sewing room will become more than just a workspace—it’ll become your creative sanctuary.
FAQs
What is the ideal size for a sewing room?
There’s no perfect size. Even a small corner can work if it’s well-organized. The key is efficiency, not space.
How do I organize a small sewing room?
Focus on vertical storage, multi-functional furniture, and keeping only what you need within reach.
What is the most important item in a sewing room?
Your sewing machine setup. If that’s not comfortable and efficient, everything else suffers.
How can I make my sewing room look aesthetic?
Organize by color, use matching storage, add decor, and keep clutter minimal.
How often should I clean my sewing room?
Ideally after every session. It keeps your workflow smooth and stress-free.